Most of us start doing a little more grooming before heading to the beach or outdoors, along with when the weather gets colder and skin tends to get more irritated. The problem is, the idea of hot wax treatment is painful, and razor burn is embarrassing and stings. Don’t worry though — there’s another way to deal with unwanted hair: sugar wax.
Have you heard of sugar wax, or “sugaring”? While eating sugar seems to get all the heat these days, sugaring to remove hair has been used by Egyptian and Greek women for centuries.
Like other types of wax, sugar wax is applied to the skin and then removed, taking body hair along with it. You can also use it on your face.
How does it work? Let’s dive in and discuss how you can make your very own sugar wax recipe at home to get your skin feeling silky smooth.
What Is Sugar Wax?
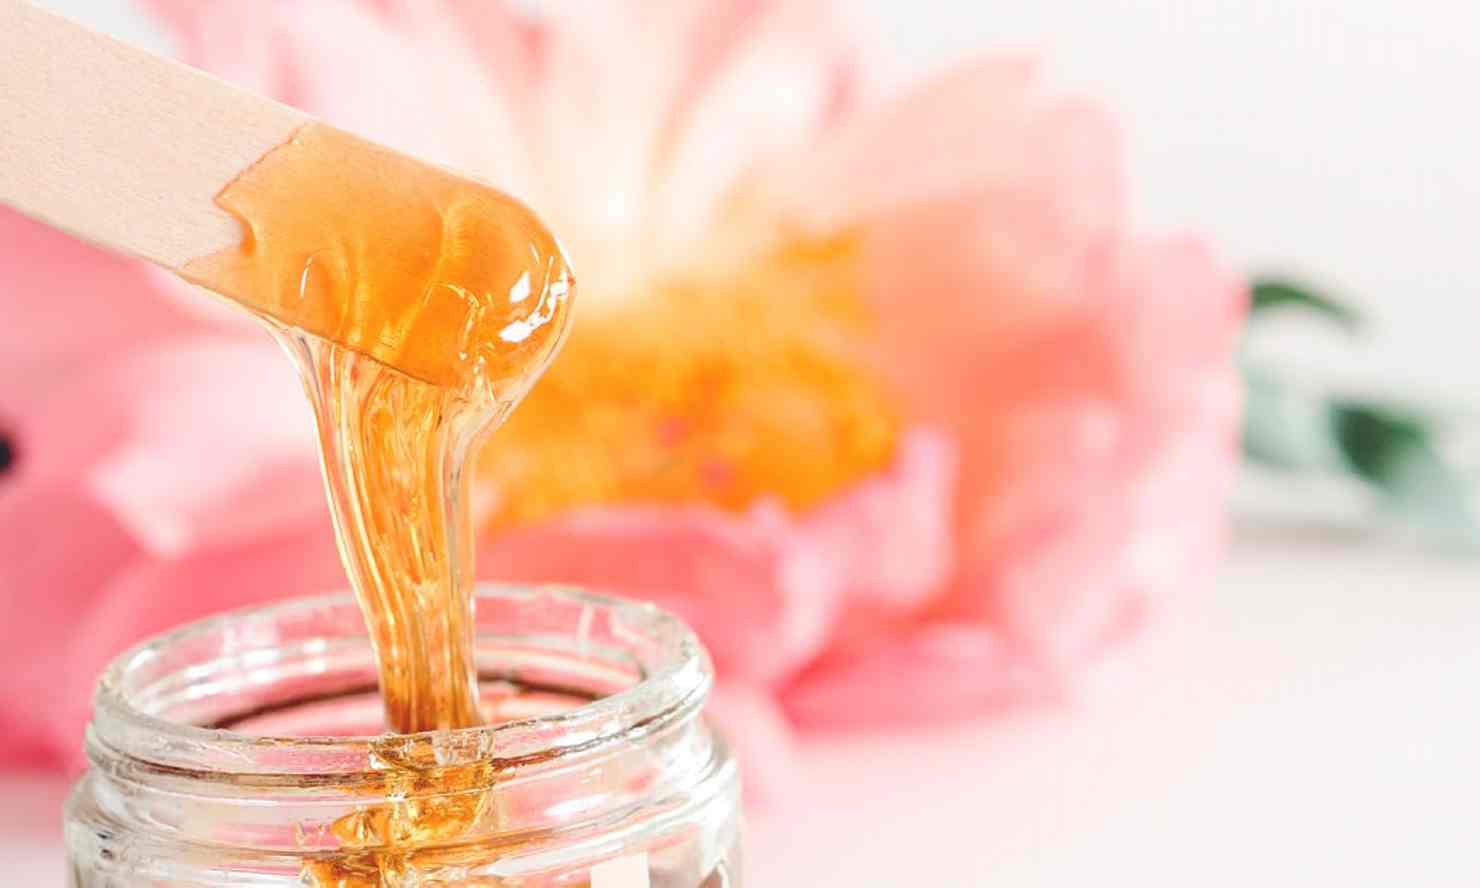
Sugar wax is a paste made from a combination of sugar, honey, water and lemon juice.
Is sugar wax painful? What’s great about this at-home waxing approach to body grooming is that when you remove it — unlike traditional waxing done at a salon — it doesn’t pull the top layer of the skin, which is what causes much of the discomfort of traditional waxing.
Instead, sugaring removes the hair because the sugar binds to the hair, not the skin. For this to work, your hair needs to be about a quarter inch long so the sugar can easily adhere to it.
While it still may be a bit uncomfortable, it should feel better than other methods of waxing.
Is sugaring better than waxing for your skin? If you have sensitive skin, this may be perfect for you and a better option than traditional waxing.
Additionally, the sugar acts as an exfoliant for the skin, adding even more softness. It may take a few rounds, but this is a great way to take care of your skin.
Another perk: Sugaring helps you avoid petroleum-based ingredients found in typical off-the-shelf hair removal products. It’s made of only sugar, water and lemon juice, meaning it’s simple to make, cheap, non-toxic and easy to clean up.
How long will your skin stay smooth? According to experts, sugar waxing is good for six to eight weeks of hair removal. The hair that grows back may also be softer than it originally was.
Sugaring Methods
In order to use sugar wax to remove body hair or hair on your face, there are two main methods: using either your fingers to remove the wax, or using pieces of cloth to remove the wax and hair.
Some people find that they get the best results when using their fingers to roll the sugar into a sticky ball, which can then be applied to the skin. However, others find the wax is too sticky and won’t come off easily without a cloth.
Using a cloth strip to remove the wax is a method that’s more like traditional waxing.
How to Make Sugar Wax
How do you make sugar wax? Start by putting the lemon juice and water in a medium-sized pan on the stove. Heat slowly. You can make sugar wax without lemon, but it’s recommend to include it if possible. Fresh lemon juice is great because it helps fight the bacteria that could cause breakouts, deeply nourishing the skin with vitamin C. It also acts as a natural exfoliator by removing dead skin cells that can clog your pores.
Now, add the honey and the sugar and stir. Put heat up to high. Using raw local honey helps prevent breakouts caused by bacteria. Raw honey can also help quicken healing time, should a rash occur. The sugar helps the skin obtain a supple and soft touch while moisturizing, and it also acts as a gentle exfoliant to the skin.
Once the mixture bubbles, reduce the heat to medium and continually stir (critical!) for another 5 minutes at least. When the mixture is smooth and golden in color, it should be done.
Be sure not to overcook it as it may cause it to harden, making it difficult to handle. Additionally, if it is too thin, it may be too hot. You ideally want it to reach about 250 degrees Fahrenheit.
The wax should have a tacky consistency and warm honey color. Once heated and well-blended, remove from heat. Test a spoonful of the mixture by placing it in the fridge. Let it cool and then check its consistency. If thick and tacky, then consider job well done! If not, put the pot back on the stove for a few more minutes at medium heat, again stirring the whole time.
If done, transfer to a heat-safe glass or stainless steel bowl and let cool for 30 minutes.
The amount of wax you need depends on how much area you are covering. Consider trying this recipe first, which should yield enough for one or two legs — depending on how much hair you’re removing.
If you have any left over, refrigerate in a glass, airtight container for up to four or five weeks, then reheat when ready to use.
How to Prep the Skin
Now that you know how to make sugar wax, let’s talk about prepping your skin.
You want your hair to be about a 1/4- to 1/2-inch long. For the best results, while the sugar wax mixture is cooling, wash the area you want to wax. Even better, exfoliate using a sugar scrub. Then dry the skin very well. Also make sure the skin is free of lotion or makeup.
You may want to do a patch test first to make sure it is okay for your skin. If you notice any unusual sensitivity, stop.
However, since these ingredients are pure, it should be a treatment your skin will love.
How to Use
If you’re using your hands to remove the wax:
- You need to scoop out a chunk of wax while it’s warm and knead it by stretching it between your hands. (Some describe it as being like taffy.) You want to stretch and fold it until it turns opaque and can be rolled into a ball.
- Press the ball of sugar wax against your skin, and use your fingers to push the ball into your skin and up against the direction of hair growth. Stretch the wax across the area of skin you’re targeting, at about 1/4 inch thickness.
- Next, holding the skin taut, QUICKLY pull sugar wax away from your skin AGAINST the direction of the hair growth and as parallel as possible with your body.
- Reform the ball and keep going until it’s not sticky anymore (3–5 uses), then use a newly formed wax ball.
If you want to use a cloth to remove the wax:
- First use a popsicle stick or a small plastic spatula to spread a thin, even coating of the sugar wax on a small area of skin. Make sure to apply it in the opposite direction of hair growth. (Before doing this, do a small patch test to make sure the wax does not cause unusual irritation.)
- Next, place a strip of the cotton fabric on the area and smooth it down by pressing and rubbing it. Allow it to cool on the skin.
- Then, holding the skin taut, very quickly pull the cloth in the direction of hair growth. It’s also possible to apply and remove the wax without using the cloth strips. Repeat if needed.
Risks and Side Effects
Is sugar wax safe? It’s safe for most skin types if you follow directions and are careful not to burn yourself.
Note that this recipe works best for softer hair, such as hair on the legs, back and chest.
Most experts caution against sugar waxing areas, such as the underarms or bikini line, where the hair is more coarse. Make sure to test a small area first if you choose to sugar wax in those areas.
The eyebrows may be a challenging area as well. The upper lip may be OK, but please test first.
Regardless, if you are uncertain, work with a professional to perform any waxing, particularly if you’ve had bad reactions in the past.
After Care
When you are done, rinse the area in warm water, and use a cloth to gently remove any residual sugar from your skin. Apply a natural moisturizer, and be sure to avoid any additional exfoliation, hot water and the sauna for a couple of days to allow the skin to heal from the hair removal process.
Wait 24 hours for any hot showers, repetitive motion activities (e.g., running), or soothing ointments or serums. After about 48 hours you can exfoliate your skin if you’d like.
Now, you are ready for the season with soft, smooth skin.


