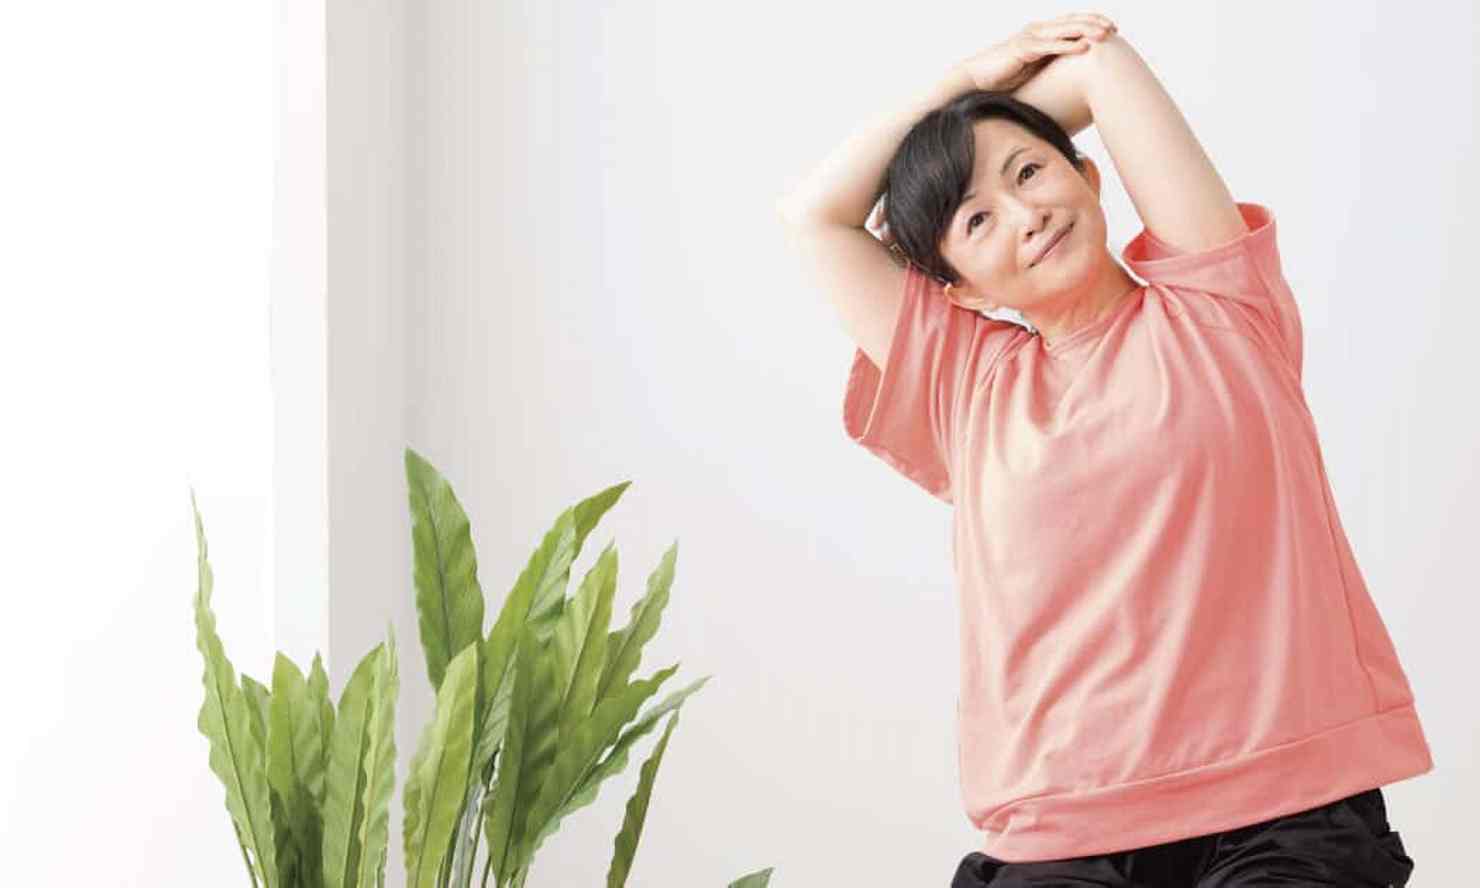
Despite what you may see on Instagram, yoga is not about twisting yourself up like a pretzel and standing on your head. It’s about connecting the breath and the mind. And that’s great news for everyone, including older adults looking to capture the benefits of chair yoga for seniors.
As a yoga instructor who works with seniors living in assisted-living facilities, I’ve seen firsthand the improvement in mood, mobility and so much more when chairs are introduced into the practice. Suddenly, yoga seems doable for virtually everyone. And that is the heart of yoga.
What Is Chair Yoga?
Is chair yoga good for seniors? Yes! Chair yoga combines ancient yoga postures with the assistance of using a chair. It’s often associated with older populations, but people of all ages and abilities can benefit from practicing in a chair.
Working in the chair makes the practice of yoga more accessible, but it also gives an added edge of support and reduces the risk of falls during exercise. It can also assist with alignment, making poses that are traditionally done on the floor more possible in a chair.
Make no mistake, though. Not all chair yoga is created equally. Difficulty levels vary greatly, so be sure to choose a class with a skilled instructor, and one that is gentle and safe.
Benefits
In my experience, chair yoga is the best type of yoga for seniors, primarily because it builds confidence and is more doable for more people. So whether you’re over 60 or 102 like some of my students, there are chair yoga poses that will likely work for you.
Additionally, the postures below also serve as a great starting point for yoga for beginners. Sometimes starting off in a chair helps students feel more accomplished and improves mobility so that they can later take their practice to the mat, if they choose.
In general, yoga wellness perks include:Ad
- Activation of the calming parasympathetic nervous system
- Improved circulation
- Lower blood pressure
- Less fear, aggressiveness, irritability and rage
- A more positive outlook
- Strength gains
- And more
Research also suggests that chair yoga for seniors and chair yoga for beginners may be a feasible and safe intervention to reduce the risk of falls, including for folks in their 90s and 100s!
Other benefits of seated yoga for older adults include:
- Improvement in mobility and comfort in older adults with lower-body osteoarthritis
- Reduction in pain
- Less fatigue
- Improvement in gait speed
Best Gentle Chair Yoga for Seniors Routine: 12 Minutes
How do seniors do chair yoga? To help provide options, here’s a short routine with some recommended poses that my older students enjoy. Remember, it’s all about comfort. At the beginning of every class, I remind students that we all have different physical makeups, are living with different injuries and ranges of motion, and to simply skip or modify any posture that isn’t working in their bodies.
As far as chair yoga for seniors with music, I generally skip music in my assisted-living and nursing home sessions, but we often enjoy some of their favorite tunes before and after class to build community and have some fun. If you’d like to talk on more activity, check out these chair exercises for seniors.
Ready to get started? Make sure you have a flat-backed chair, with or without arms. If you’re in a wheelchair, you are ready to go!
1. Connect with the breath
Take a few moments or minutes to connect with the breath. Notice the coolness of the breath as your inhale hits the edge of your nostrils. Experience the warm of your exhale. Just breathe and be aware of the qualities of your breath, maybe noticing the expansion of your belly and ribs as you breathe in, and then the letting go of that on the exhale. Breath is life.
2. Mountain pose
To build a strong, foundational seat, work with mountain pose. Inhale and sit up tall in your chair with your feet about hip-distance apart, feet on the ground with the toes pointed forward (if you are able to).
As you continue to breathe comfortably, shrug your shoulders toward your ears and draw the shoulders pack and down your back. Notice the sense of opening across the collarbones.
On your next inhale, imagine a helium ballon tied to the top of your head and lengthen your spine to sit up a little straighter.
Strengthen your core by drawing your belly button toward your spine gently.
Rest your hands on your lap or take your arms down along your sides with the palms facing forward and fingers pointed down toward the earth. Take several complete breaths here, feel your strength and release.
3. Shoulder shrugs and releases
The next few exercises will help warm the body up and help us connect with the breath even further by tying the breath with movement.
Inhale shrug the shoulders up toward the ears, exhale and release. Sometimes letting out an audible exhale can feel very refreshing and therapeutic!
Repeat 3 to 5 times.Ad
At the end of every exercise. Relax into the chair and take several breaths in and out to rest and notice the effects of the exercise.
4. Ear-toward-should gentle neck stretch
Sitting tall in your chair, lift the shoulders and then roll then back and down your spine, gently giving a squeeze in the shoulder blade region.
With the head starting at center, exhale and gently lower your right ear toward your right shoulder. Hold here for several breaths, then inhale the head back up to center.
Exhale, take the left ear toward your left shoulder and breathe here for several rounds of breath. Inhale and come back to center.
Repeat 3 to 5 times.
5. Front arm lifts
Starting in mountain pose, extend the arms in front of you. (If this is too difficult on the shoulders, focus less on the arms lifting and lowering and work the movement gently and lower just above your lap.
Inhale and lift the the arms several inches with the fingers pointing down.
Exhale gently lower the arms back to your lap with the fingers facing up.
Repeat 3 to 5 times.
6. Side bend with arms in cactus position
Starting in mountain pose, inhale and bring your arms into a cactus or goalpost position, drawing the shoulder blades together.
Exhale gently bend your upper body a bit to the left and breathe here for a few breaths.
Inhale come back to center.
Exhale gently bend your upper body to the right and breathe here for a few rounds.
Inhale come back to center.
7. Stir the pot
Take the legs a little wider and present your holding a ladle with both hands in front of the chest.
Gently image yourself stirring a pot. It could be a small saucepan or a giant witches’ cauldron!
Softly move the upper body with your arms, creating some mobility through the core.
8. Leg extension with a focus on the breath
Now we’ll work on engaging the lower body.
From mountain pose, inhale lift your right leg, maybe even placing your right hand on your thigh just above your knee. Notice the quadricep muscle engage as you lift on the inhale. Notice it relax as you lower on the exhale.
Work here for 3 to 5 rounds before taking a break and switching to the left side.
9. Toe raises and “pitter patter” combo
To balance muscle engagement in the calves and anterior tibias muscle in the shin area, we’ll work a combination of toe raises and ankle dorsiflexion that draws the toes in toward the shin.
Starting in mountain pose, exhale and lift your heels off of the ground like you’re doing a toe raise.
Inhale flex through the ankle, pulling your toes in the direction of your shin to activate the generally underactive muscles in the front lower region of the the leg.
Work 5 to 10 founds of this combo before taking a rest and noticing the effect in your low legs.
10. Seated relaxation.
Coming back to mountain pose, close the eyes if you’d like and just breathe. Notice the effects of your practice in your mind and body.
Feel your heart beating.
Let your awareness flow up and down your body as your breathe, almost like a continuous wave.
Breathe here for several rounds, then bring your hands together in front of your heart and send gratitude inside for committing to your practice.
Final Thoughts
- Chair yoga for seniors and chair yoga for beginners makes the benefits of yoga more accessible to more people.
- Yoga for seniors is shown to possibly reduce the risk of falls while increasing outlook, reducing pain, improving osteoarthritis symptoms and more.
- By using a chair, yoga for seniors becomes more safe and builds confidence, too.
- Traditional yoga poses, like mountain pose, can be adapted as a foundation posture in chair yoga for seniors’ routines.
- Chair yoga should always feel comfortable and within a person’s personal ability. Students should be encouraged to skip postures that don’t feel good in their bodies, and to always modify to fit their unique needs.


